How to Create Alcohol Ink Rings For Amazing Pieces of Art
“Just a heads up—this post contains a few affiliate links, which means I may earn a small commission if you decide to purchase through them (at no extra cost to you). It helps keep the ink flowing and the creative ideas going!”
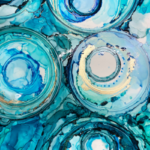
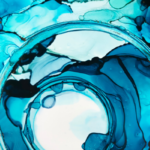
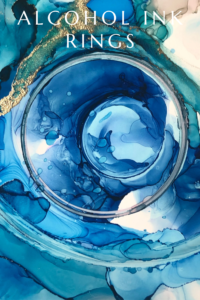
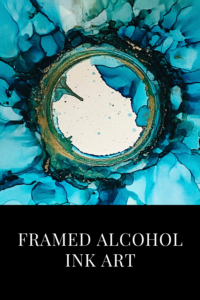
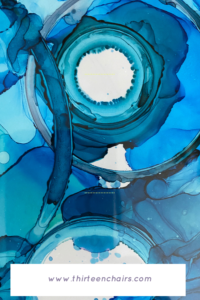
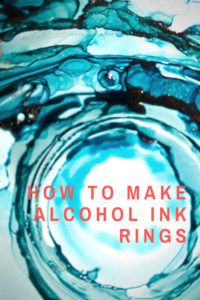
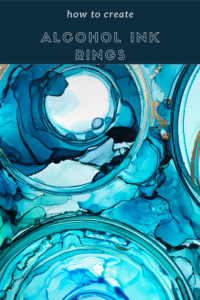
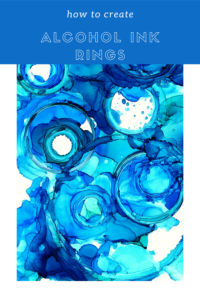
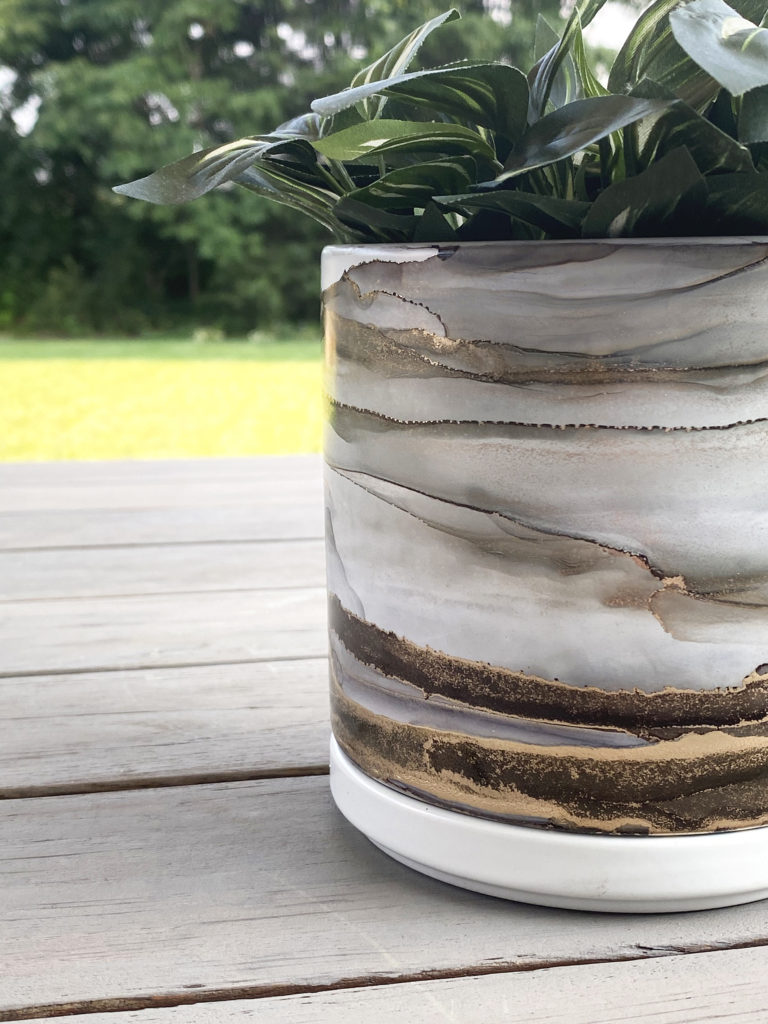
Alcohol ink rings are a colorful and unique way to express your creativity and is one of my favorite types of art. By using vibrant alcohol inks, you can create beautiful ring designs that capture the the multilayered appearance of this medium. Alcohol Ink can be so interesting because of the way it moves and blends, the rings appear to be sitting on top of each other. Whether you’re going for bold contrasts or something more delicate these rings make are always stunning.
In this post I will detail how I make my Alcohol Ink Rings and if you have any questions be sure to put them in the comments below. I have also listed the sources for the supplies I used at the end of this post.
Supplies
The supplies you will need for this project are:
Yupo paper or photo paper in the size of your choice. Heavy Yupo works best because of the amount of ink, alcohol and heat used. Sometimes that heat can cause to paper to warp a bit.
Alcohol Ink in your favorite colors. Almost everything I do is in shades of blue.
91% isopropyl alcohol. This is available almost anywhere; Target, Walmart, CVS, and Walgreens to name a few.
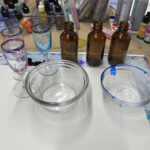
Glasses in a variety of diameters. I found mine at Goodwill, The Dollar Store and some I already had on hand.
A hair dryer or embossing gun.
A mask or respirator.
Krylon Kamar
Krylon UV Protective Coating
The Process
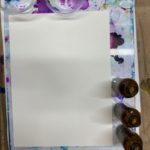
I always set my paper on a piece of glass before I start, it gives it a bit more stability. I also fill a small dropper bottle with some of the alcohol. Make sure you have everything near your paper and ready to go.
The first step that I take once I am all set up is to go ahead and make a very light center for each of the circles that I want to make. Using the smallest diameter bottle, I drop my lightest color, just a little bit, around the edge and then drop a very small amount of alcohol on top. Then I push it around and dry it with my embossing gun.
Make sure it’s dry before your lift the glass up. You can tilt it to get underneath. If your smallest glass is short you can just leave it down but as you can see, mine is tall, too tall for my next size glass.
On top of each ring add the next size glass you would like to use and repeat the steps. The larger the glass the more ink and alcohol you will need to use but a little bit will also go a long way. When dropping brass, get as close as you can to the glass.
Keep adding your glasses one on top of another and adding ink and alcohol around each one. When you are finished adding glasses and you are happy with the ink around the outermost glass you can begin taking them off, one at a time, making sure the outer edge and the area underneath is dry using your embossing gun or hair dryer. Tilt the glass up a bit to get underneath. The glass may also move a bit but if its does it will just add more rings to the piece.
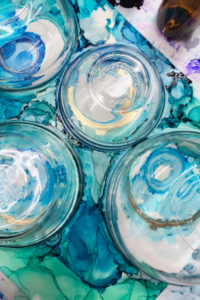
As you take them off, if you feel you need a bit more ink, now is the time to do it. Just be careful you are not pushing it into another outer circle.
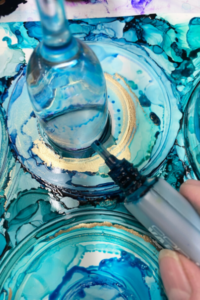
Once all of the glasses have been removed you are finished. Let your piece dry overnight and then seal the next day with Three coats of Kylon Kamar and three coats of Krylon UV protective coating.
There is a process video below this post included from another piece that I painted
Where to Find Supplies
When it comes to gathering supplies for making alcohol ink rings, there are plenty of great options! Some of my favorite resources include Blick Art Supply, which offers a wide range of inks and tools, and Ranger Ink, known for their high-quality alcohol inks perfect for vibrant creations. Amazon is also a convenient place to find everything you need, from inks and blending solutions to whatever else you may need. Beyond these, many local craft stores and specialty art shops carry alcohol ink supplies, so it’s worth checking out different places to see what fits your needs and budget..
Dick Blick Art Supplies
This is where I purchase most of my supplies. Generally the pricing is less than others and they always have some sort of promotion going on. Their site is sometimes difficult to navigate, so if you have any questions let me know in the comments or feel free to email me at Kimberlycookdesigns@gmail.com.
Pinata Alcohol Ink (Pinata Brass for gold color)



Why do you list a respirator in the supplies?
Isopropyl Alcohol can be pretty toxic and the fumes overwhelming for some causing headaches and lung damage. There is a lot of extra alcohol being added in this project. I also don’t want to suggest to some one they do a project without proper safety whether I choose to or not.
Thank you for so generously sharing your process. Beautiful work!
This method is different from may other artists.. Great work.. Thank you..
Lovely style, will be trying this when the weather cools down (my studio is far too hot to use my embossing gun in at present!)…
I need to remember to not use the heat gun too close to the yupo paper as it ruins it by sort of burning or rippling up (cannot think of better description sorry!)
Love working with alcohol ink, so any new projects are great – THANK YOU!!
Thanks so much for sharing! I loved not only the technique but the video! Great music and filming! I didn’t want it to end.