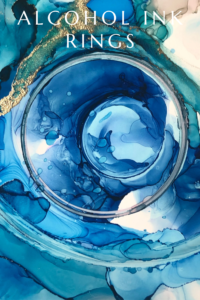
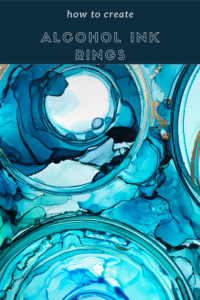
How to Create Alcohol Ink Rings: A Step-by-Step Guide for Beginners
updated January 2026
This post contains affiliate links, which means I may earn a small commission if you choose to purchase through them — at no additional cost to you. I only link to products or brands I use personally in my studio and recommend for alcohol ink work. Thank you for supporting my art and helping keep the creativity flowing.
Why Alcohol Ink Rings?
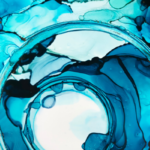
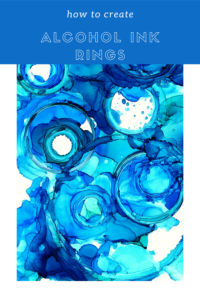
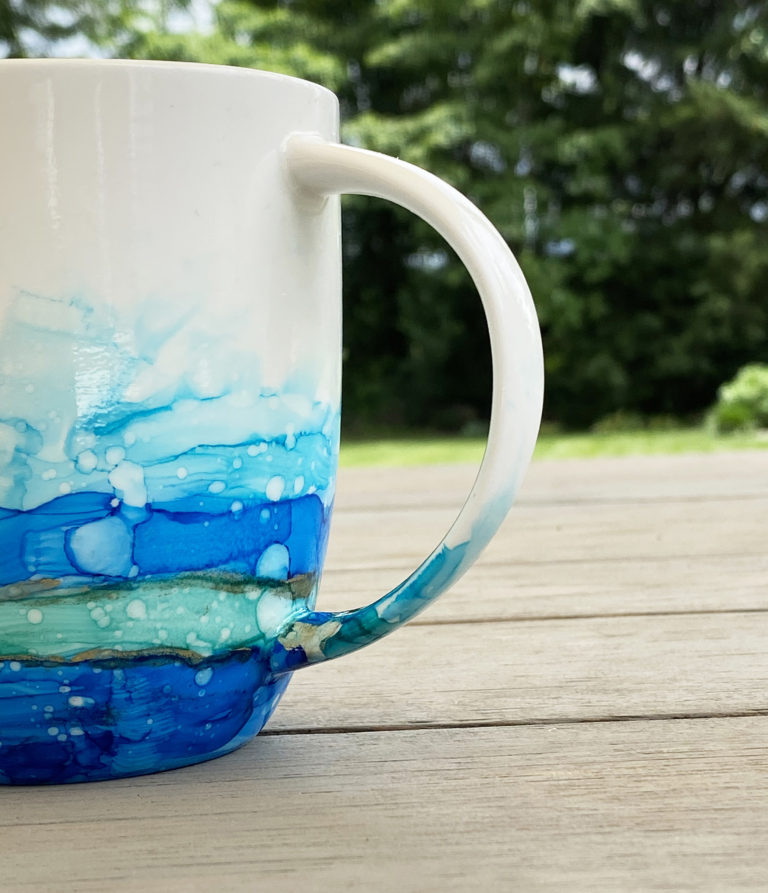
Alcohol ink rings are one of my favorite techniques for showing off how fluid, unpredictable, and dimensional alcohol ink can be. When the ink moves and evaporates, it forms layered halos that almost appear to float on top of one another. The result can be bold and dramatic or soft and delicate — either way, the effect is stunning and completely unique every time.
This tutorial walks you through how I build my ink rings using alcohol ink, isopropyl alcohol, heat, and a variety of drinking glasses. It’s a surprisingly accessible process, and once you get the hang of it you can experiment endlessly with sizes, colors, and compositions.
If you’re brand new to alcohol ink (or just curious about how these rings are made), you’re in the right place.
WHY ALCOHOL INK RINGS WORK
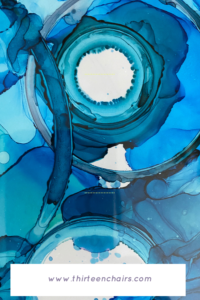
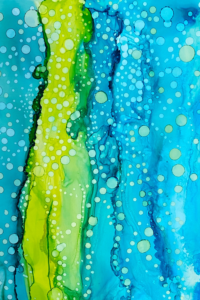
Part of the magic comes from how alcohol ink behaves. Because it evaporates so quickly, reacts to heat, and can be reactivated with more alcohol, you get natural transitions, overlaps, and hard/soft edges. Stacking circular shapes builds depth and makes the piece look multi-layered without ever using actual paint layers.
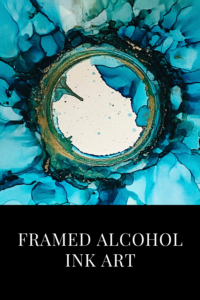
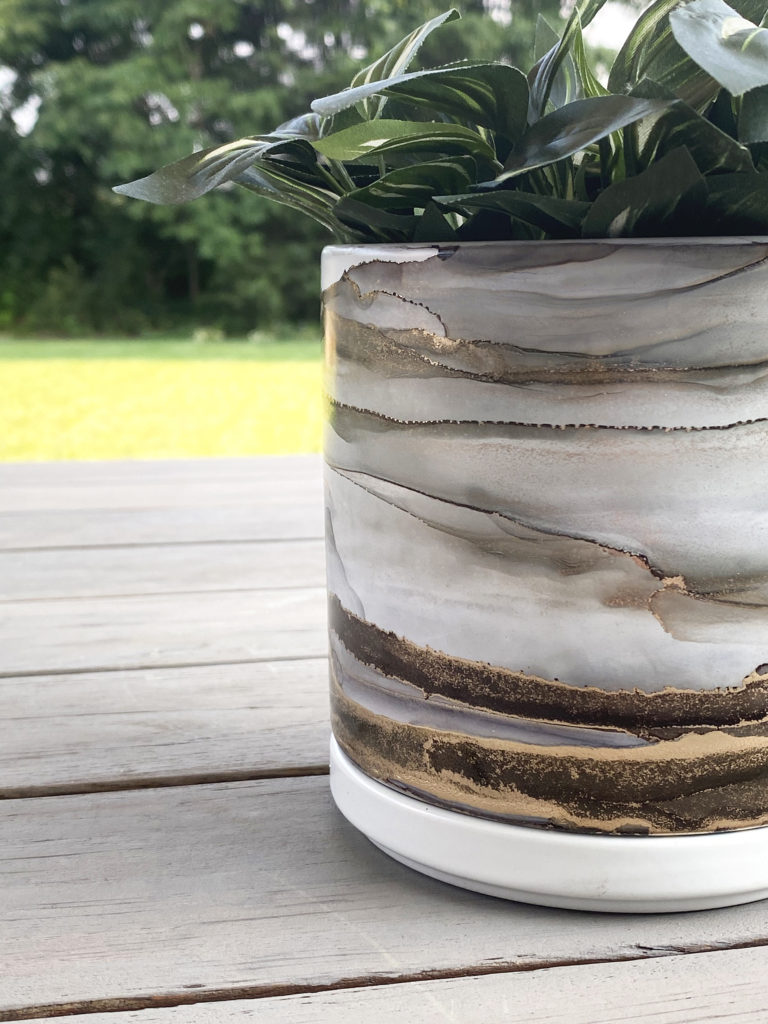
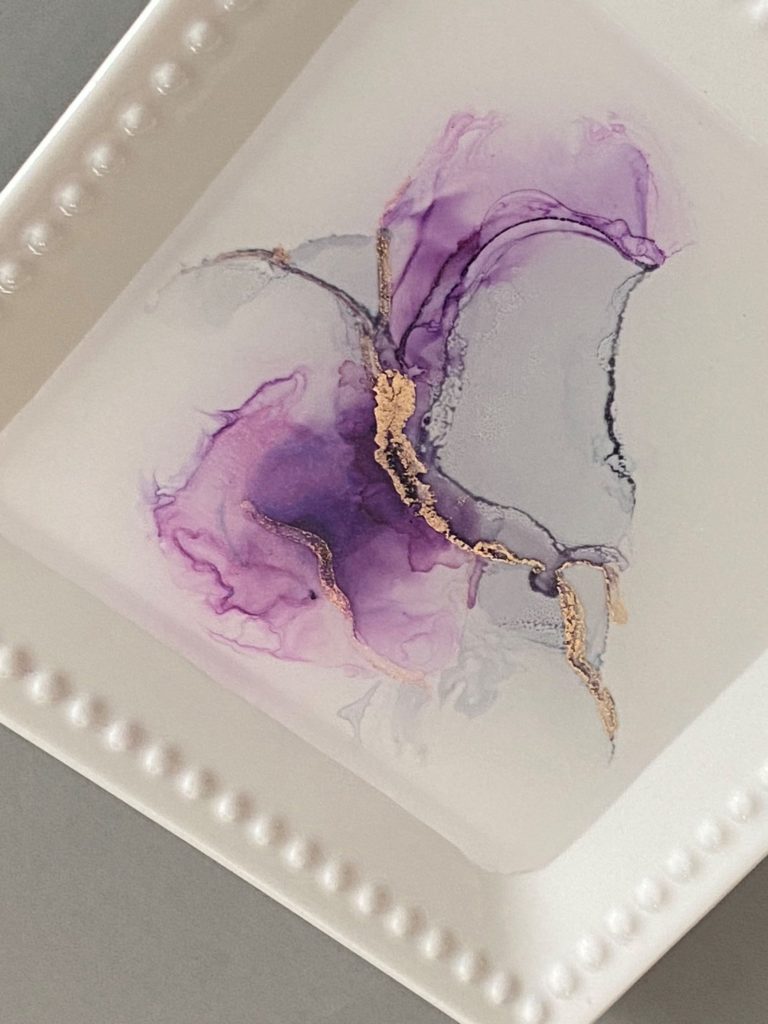
If you lean more towards bold, high-contrast palettes, the rings become graphic and dramatic. If you choose soft or desaturated colors, you get a more atmospheric, water-stained look that feels organic and quiet — almost like geological patterns.
If you have questions, want color palette suggestions, or get stuck along the way, ask in the comments!
I first shared this tutorial a few years ago, and it’s still one of my favorite techniques for alcohol ink. I’ve updated it with clearer steps, safety notes, and my current supply recommendations based on what I use in my studio today.
Supplies
Here’s what I use to make alcohol ink rings:
-
Yupo paper or glossy photo paper (heavier Yupo works best — it tolerates the amount of ink, alcohol, and heat without buckling as much)
-
Alcohol Inks in your favorite colors (mine are almost always blues)
-
91% isopropyl alcohol (easily found at Target/Walmart/CVS/Walgreens)
-
Drinking glasses and shot glasses in several diameters (Goodwill + Dollar Store treasures are perfect)
-
Embossing gun or hair dryer
-
Small dropper bottle for alcohol
-
Mask or respirator
-
Krylon Kamar Varnish
-
Krylon UV Protective Spray
Optional but helpful: A piece of glass to set your paper on — it keeps things flat and gives you a hard smooth surface for heat.
Safety Considerations When Working With Alcohol Ink
Because alcohol ink contains solvents and isopropyl alcohol is highly flammable, it’s important to work in a well-ventilated space and away from open flames or sparks. Evaporation during use can also produce fumes, so artists with sensitivities may prefer to wear a respirator or mask rated for organic vapors. Use heat tools on low settings and keep them moving to avoid overheating the surface.
When sealing alcohol ink artwork, allow the piece to dry fully and apply sealants such as Krylon Kamar Varnish and Krylon UV Protective Spray outdoors or in a well-ventilated area. Follow all manufacturer instructions for use and disposal.
Step-by-Step Process
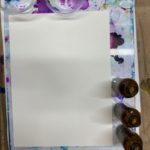
1. Prep Your Workspace
Set your Yupo on a piece of glass and fill a small dropper bottle with alcohol. Have all your glasses lined up from smallest to largest so you’re not scrambling mid-process — alcohol ink dries fast!
.
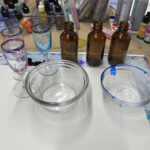
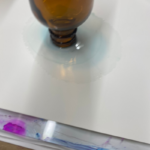
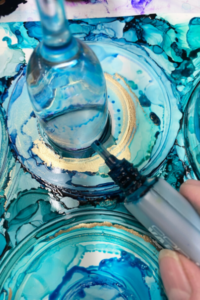
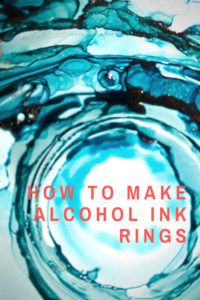
2. Create the First (Smallest) Ring
Place your smallest glass on the paper. Add a thin line or small drops of ink around the base of the glass. Using the smallest diameter bottle, I drop my lightest color, just a little bit, around the edge and then drop a very small amount of alcohol on top. Then I push it around and dry it with my embossing gun.
Tip: Keep it light — this first ring acts as the center highlight for the rest of the piece.
Make sure it’s fully dry before lifting the glass. If your glass is tall, tilt to dry underneath.
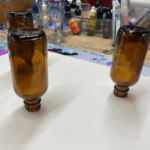
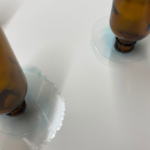
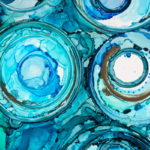
3. Build the Next Layers
Place the next-largest glass over the dried ring and repeat:
-
Add ink around the base
-
Add a touch of alcohol
-
Push + dry with heat
As you move to bigger glasses, you’ll need slightly more ink and alcohol, but start smaller than you think — it’s easy to oversaturate.
Precision tip: Try to drip ink and alcohol as close to the glass edge as possible to keep the circles crisp.
On top of each ring add the next size glass you would like to use and repeat the steps. The larger the glass the more ink and alcohol you will need to use but a little bit will also go a long way. When dropping brass, get as close as you can to the glass.

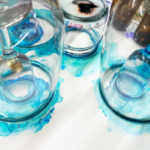
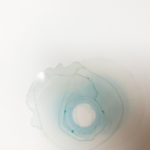
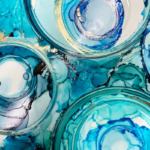
4. Stack, Dry, and Adjust
Keep stacking glasses and building rings. Once you’re happy with the outermost layer, begin removing glasses one at a time, drying underneath as you go. A bit of movement from the glass isn’t a mistake — it can create ghost rings that add depth.

If you want to intensify a ring, add a bit more ink before moving on, just be careful not to push wet ink outward into another ring.
5. Dry and Seal
Once all the glasses are off, let your piece dry overnight. The next day, seal using:
-
3 light coats of Krylon Kamar
-
3 coats of Krylon UV Resistant Clear
Spray very lightly and not too close or you will end up with little spots all over your piece. Sealing prevents reactivation and fading, especially if your art lives in a bright room.

There is a process video below this post included from another piece that I painted
Where to Find Supplies
There are a lot of places to source alcohol ink supplies these days. My favorites:
-
Blick Art Materials — wide selection + good pricing + steady promotions
-
Ranger Ink — high-quality alcohol inks and specialty surfaces
-
Amazon — great for convenience and dropper bottles/tools
-
Local art stores — sometimes the best place to discover new brands and colors
I’ve linked everything below for convenience, including the exact papers, sprays, and tools I use.
Dick Blick Art Supplies
This is where I purchase most of my supplies. It’s been a favorite for years.
Pinata Alcohol Ink (Pinata Brass for gold color)
Amazon
RANGER INK
Disclaimer: This tutorial is based on my own studio process and experience. Please use good judgment and follow all manufacturer instructions when working with alcohol, heat tools, or sealants. Every workspace and tool setup is different, so adjust for what feels safe and comfortable for you.

Why do you list a respirator in the supplies?
Isopropyl Alcohol can be pretty toxic and the fumes overwhelming for some causing headaches and lung damage. There is a lot of extra alcohol being added in this project. I also don’t want to suggest to some one they do a project without proper safety whether I choose to or not.
Thank you for so generously sharing your process. Beautiful work!
This method is different from may other artists.. Great work.. Thank you..
Lovely style, will be trying this when the weather cools down (my studio is far too hot to use my embossing gun in at present!)…
I need to remember to not use the heat gun too close to the yupo paper as it ruins it by sort of burning or rippling up (cannot think of better description sorry!)
Love working with alcohol ink, so any new projects are great – THANK YOU!!
Thanks so much for sharing! I loved not only the technique but the video! Great music and filming! I didn’t want it to end.